1. How to Create the Llama’s Head
Step 1
Create a new document (File > New) with 850 px Width and 850 px Height.
Let’s start with the head. Delete the stroke color and set the fill color shown in the image below. Take the Ellipse Tool (L) and create a grey ellipse.
Next, we will apply the Inflate effect to this ellipse. Select it, and go to Effect > Warp > Inflate. Enter the options you see below.
Next, we will give the head some shading. Create a copy behind (Control-C, Control-B) and shift it down. Make the new copy a bit darker.

Step 2
Now we are going to create the upper part of the llama’s head. Using the Ellipse Tool (L), draw an ellipse on top. Apply the Inflate Effect to it: Effect > Warp > Inflate. In the new dialogue window, enter the options shown below.
After that, we will create the llama’s eyes. Using the fill color shown below, create a small circle behind the head. To make an even circle, hold the Shift button while creating it. To place the circle behind the head, cut it off (Control-X), and then place it behind (Control-B).
Finally, create the second eye: select the first one and, while keeping the Shift and Alt keys pressed, move this first eye to the right.

Step 3
On to the muzzle. A lighter ellipse on the head will start the llama’s muzzle. While keeping it selected, go to Effect > Warp > Inflate. In the new dialogue window, enter the options shown below.
For the nose, add a tiny ellipse which should have the same fill color as the eyes. Using the Selection Tool (V), rotate it to the left. Then hit the Reflect Tool (O) and press the Enter button. In the new dialogue window, be sure to check Vertical, Angle 90 degrees, and press Copy. Move the new copy of the nostril to the right.

Step 4
To continue creating the muzzle, take the Rounded Rectangle Tool and draw a rounded rectangle which should resemble the one below. Make sure you deleted the fill color and left the stroke color.
After that, hit the Scissors Tool (C) and click on the places marked by circles in the image below. You just cut off the upper part of the rounded rectangle. Now, delete the upper part.
Again, take the Reflection Tool (O) and press the Enter button. As you already used this tool in this tutorial, all of the options by default are the same. So, after the dialogue window (Reflect window) pops up, just press Copy. Move the new copy to the right.

Step 5
Place the previously created curves as the llama’s muzzle.
Add a few small ellipses as shown below to create some funny bangs. You don’t need the black stroke as it’s there just for better visibility.

Step 6
On to the ear. Start with an ellipse and then warp it: Effect > Warp > Arc. Enter the options shown below. Keep in mind that you need the same fill color as the head.
Then create a smaller, darker copy of it in front (Control-C, Control-F). Expand both of the shapes (Object > Expand Appearance).

Step 7
Place the left ear on the left side of the llama’s head. By using the Reflect Tool (O), create a vertical copy of this ear to get a new one. Move the new ear to the right.
To make the neck, draw an ellipse behind the head. Then apply the Inflate effect to it.

2. How to Create the Llama’s Body and Legs
Step 1
To create the llama’s body, we will start with a rounded rectangle. Use the Rounded Rectangle Tool for it.
Next, we will warp the rounded rectangle: go to Effect > Warp > Fish and enter the options you need to deform this shape.

Step 2
The tail of a llama is quite funny, because it resembles a dog’s tail. Create an ellipse and warp it with the Arc Effect. It is very important to expand this shape, because later you will rotate the tail. Always remember that if you apply a warp effect to a shape, it is very important to expand the shape. That’s because when you rotate it, all the settings will be lost.

So, place the tail where it has to be and rotate it a little bit to the left.

Step 3
We’ll create the leg by combining different warped shapes. First, we are going to create the upper part of the leg. Draw an ellipse and warp it using the Fish Effect.
Next, we want to apply another effect to this leg: the Arc Effect. Your software may ask you in the new dialogue window something like: “Do you want to apply a new effect?” Simply press OK.

The Arc Effect options:

Step 4
After that, create a rounded rectangle below the first one and warp it using the Flag Effect.

Step 5
Now we are creating the llama’s foot. To make it, we need to start with an ellipse. Add a rectangle with any fill color that overlaps it, just to cover the lower part of the ellipse.
While keeping the two shapes selected, press the Minus Front button on the Pathfinder panel (Window > Pathfinder). You will end up with a semicircle.
Create a new copy of the new shape behind (Control-C, Control-B) and make it darker. Make sure it is a little bit bigger by stretching it diagonally to the top right corner.
Create another copy of the previous one behind. Stretch it diagonally to the top right. Using the Eyedropper Tool (I), make the newest copy the same fill color as the first semicircle. For this, while keeping the third semicircle selected, click on the first one. The Eyedropper Tool (I) helps you to transfer a color from one shape to another.

Place the foot on the leg. Group the whole leg, so it will be easier to move it later on.

Step 6
Keeping the leg selected, press the Shift and Alt buttons and, using your mouse, move the leg to the right. You’ll get a new leg.
Using the same method, create two more legs.
Change the color of two of the legs to a darker color, to make two of the legs look as if they are farther from us. And, of course, make sure that those two legs stay behind the body. First, cut them off (Control-X), and place them behind (Control-B).
If you see that the llama’s neck needs a smoother transition to the body, feel free to add an extra ellipse.

3. How to Create the Traditional Blanket on the Llama
Step 1
Create a pink rectangle. Then warp it twice. For the first time, you will need the Arch Effect. You can see the options you need in the first image, and then scroll down and you’ll see the options for the second effect.

Here are the options for the second Arch Effect.

Step 2
And now—the interesting and creative part! Delete the fill color and set a dark pink stroke color. Take the Pencil Tool (N) and draw a pattern you like on the blanket. It’s really nothing complicated: a few lines, a few dots, some flowers and zig-zags. If you are using the Pencil Tool (N) for the first time, double-click on the tool, and in the dialogue window you can move the slider in the Fidelity section between Accurate and Smooth. The closer your slider is to Smooth, the smoother your Pencil Tool (N) will draw.
If you would like, you can add a few pom-poms to the blanket. First, draw a few lines, and then change the stroke color to the same pink color as the blanket, and finally add a few circles.
Group the whole blanket (right-click your mouse > Group).

Step 3
Put the blanket on the llama.
You can also add pom-poms to the llama’s ears.

4. How to Create the Scenery
Step 1
We will start by creating the background. Let’s create a dark turquoise square: hit the Rectangle Tool (M) and click on your artboard. Enter Height and Width 850 px, and press OK. Set its fill color as shown in the image below.

Step 2
Now we will use the Pencil Tool (N) again to create the cacti. Be sure to delete the fill color and set the stroke color shown below. On the Stroke panel, increase the Weight of the stroke, and check Round Cap.
First, draw a stem, and then add a few branches. Draw one more cactus, which should be a bit bigger.
If you would like, but it’s not necessary, use the Width Tool (Shift-W) to make the stem wider compared to the branches, or just wider at the top of each branch or stem.

Step 3
Decrease the stroke Weight and make the stroke color darker. Using the Pencil Tool (N), draw a lot of tiny prickles on the cacti.
Group each cactus separately (right-click > Group).

Step 4
Now is the time to place everything we created so far on the background.

Step 5
To make the llama’s habitat more natural, let’s add a couple of mountains. Hit the Polygon Tool and click on your artboard. In the new dialogue window, enter 3 Sides with any Radius, and press OK. Set the fill color you need, with no stroke. This will be our first mountain.
Add two more of any size.

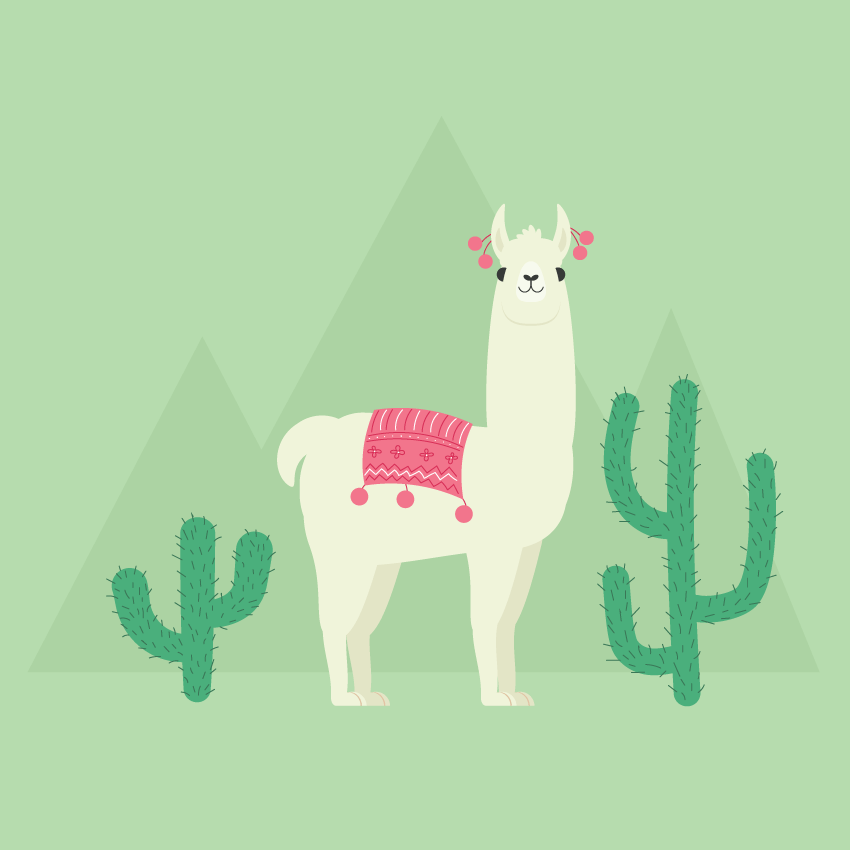
Place the mountains on the background, but put them behind the llama and cacti. And that’s it!